How to make Bruce Bogtrotter’s chocolate cake from Matilda
If you're anticipating the release of Matilda: The Musical movie on Netflix this Christmas, you can now whip up your own chocolate cake like the one Bruce Bogtrotter has to eat. This recipe is made to be like the one you can see in the 1996 film adaptation of Roald Dahl’s Matilda. Hopefully you don't have to eat it all at once in front of a whole school of kids like Bruce does, but I definitely won't be judging you if you take an extra large slice!
Scroll to the bottom for some important tips to help ensure this cake turns out as best as possible. But first, here’s the recipe:
Ingredients
Cake
- 180g all-purpose flour
- 300g white sugar
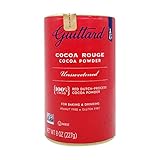
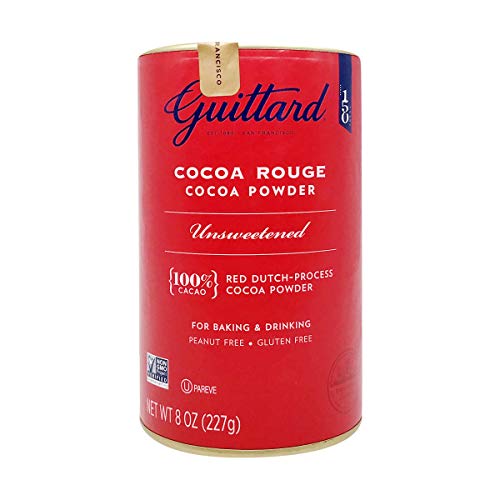
- 64g Dutch-processed cocoa powder
- 1 ½ tsp baking soda
- 1 tsp baking powder
- 1 tsp salt
- 6.3oz buttermilk
- 2 eggs
- ¼ c vegetable oil (I used avocado oil)
- ¾ c hot water
- 2 tsp vanilla
Cake soak
- Chocolate milk
Sour cream chocolate frosting
- ½ c butter
- 300g white sugar
- 150g Dutch-processed cocoa powder
- Pinch of salt
- 1c heavy cream
- 5.5oz sour cream
- 2 tsp vanilla
Method


For the cake
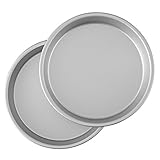
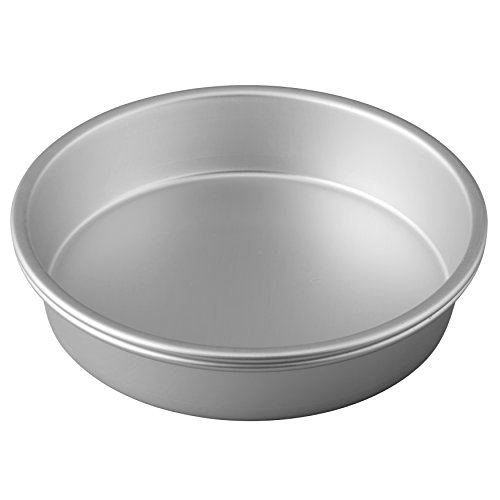
- Preheat the oven to 350℉. Grease two 9” circular baking pans
- Combine flour, sugar, cocoa, baking soda, baking powder, and salt
- In a separate bowl, stir together the remaining wet ingredients, making sure to temper the eggs (I recommend thoroughly mixing the buttermilk, eggs, vanilla, and oil together first before slowly pouring in the hot water while whisking to be extra sure you don’t cook the eggs)
- Add the dry ingredients to the wet ingredients, stirring until just mixed
- Bake in prepared pans for 25-30 minutes. Allow to cool in the pans for 15 minutes before doing the cake soak
For the cake soak
- With a fork or toothpick, puncture the cakes all over, being sure not to pierce all the way down to the bottom
- Slowly drizzle or spray your favorite chocolate milk on top of the cakes. The amount you use may vary, but I usually use about ¼ cup for each cake
- Cool completely before frosting. At this point, you may wrap the cakes in plastic wrap and freeze them until you’re ready to frost
For the frosting
- Sift together the dry ingredients (sugar, cocoa powder, and salt)
- In a separate bowl, whisk together the sour cream and heavy cream
- In a medium saucepan over medium-low heat, melt the butter. Add in dry ingredients, then add in the wet ingredients and stir constantly for about 5 minutes until the sugar is completely dissolved. Do not boil!
- Remove from heat, cover, and refrigerate. Allow to cool completely before the next step
- Whip the frosting in a stand mixer or use a hand mixer for a few minutes to fluff the frosting. It will become slightly lighter in color. It is now ready to frost your cake!
The tips
There are a few pieces of this recipe that are really important for it to turn out as best as possible, particularly the type of cocoa powder and the cake soak. Often my go-to cocoa powder is standard, unsweetened, non-Dutched cocoa powder. However, Dutch-processed cocoa powder is essential to this recipe. Dutched cocoa powder has an added alkalizing agent to reduce its acidity. This gives it its characteristic darker color and smoother taste.
Now, notice how this recipe uses both baking soda and baking powder, both of which are leavening agents, as well as buttermilk which has acid-forming properties. When using Dutch-processed cocoa, you’ve essentially removed the chemical reaction that would normally occur when you use natural unsweetened cocoa powder (an acid) and baking soda (a base). Because there is baking soda in this recipe, if you do use natural unsweetened cocoa powder, you should still get the fluffiness you want, but the chocolate flavor will be lacking in depth.

The cake soak in this recipe is really just the cherry on top. Chocolate milk helps the cake stay ultra moist without being too gluey, which can sometimes happen if you use a simple syrup (sugar and water solution). As stated in the recipe, be sure not to poke your fork or toothpick all the way through the cake, where the soak would just leak out the bottom. Don’t add the soak to your cake when it’s just fresh out of the oven, either, as the cake needs a few minutes to “set” and will hold its shape better when it’s allowed to cool slightly.
Enjoy scarfing this masterpiece down!
Also in...

Matilda
Matilda Wormwood is an exquisite and intelligent little girl. Unfortunately, her parents, Harry and Zinnia misunderstand her because they think she is so different. As time passes, she finally starts school and has a kind teacher, loyal friends, and a sadistic headmistress. As she gets fed up with the constant cruelty, she begins to realize...
 Google Play Movies
 Amazon Video
 YouTube
 Starz Roku Premium Channel
 Fandango At Home
 Starz
Starz Microsoft Store
 Redbox
 DIRECTV
 Starz Amazon Channel